I made my Raspberry Pi a security camera using MotionEyeOS to keep an eye on the shenanigans in my living room when I wasn’t there. Setting up the camera was surprisingly simple. It will only take about half an hour to an hour. First, a list of needed items: a Raspberry Pi, a USB camera, stable internet, and a micro SD card the card doesn’t need to be too big because it only needs enough space for the OS.
Next, you need to install the OS onto the Raspberry Pi. This involves flashing the OS image onto the micro SD card. This step may sound difficult but, simply, there are only three steps. Step 1: go to the MotionEyeOS GitHub page and download the most recent release for the Raspberry Pi that you have you must get the correct release. Step 2: download Balena Etcher. Step 3: follow the instructions in Balena Etcher to flash the MotionEyeOS image to the micro SD card and insert the card into the Raspberry Pi. More in-depth step-by-step instructions can be found here.
Now that MotionEyeOS is installed on your Raspberry Pi plug in the camera and plug in an ethernet cord to connect the Raspberry Pi to the internet. The final step is to find the IP address of your Raspberry Pi. Typing the IP address into a search engine gets you to a user-friendly website to view your security camera and change settings for what to do when motion is detected. Some examples of actions it can take when motion is detected are, storing an image of the motion in the cloud, running a script on the Raspberry Pi, and sending an email declaring motion was detected with an image attached.
Here are some of the pictures caught by my camera
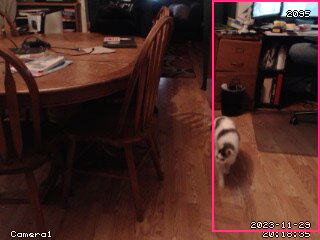
My cat wandering into frame
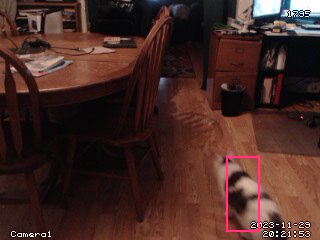
She’s back 🙂
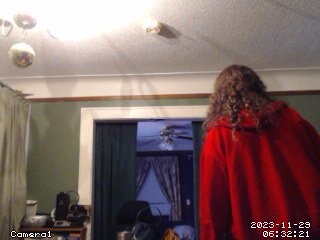
who’s that handsome devil testing the motion detection?


0 Comments