I chose to create a a RetroPie for my Raspberry Pi Project because I thought this would be a fun project for me. I thought that learning how to use the Raspberry Pi software for this would be useful to understand for daily life and also a challenge for myself. This idea for the retro game simulator seemed like an interesting project choice to me as soon as I heard of it.
For the project, I needed:
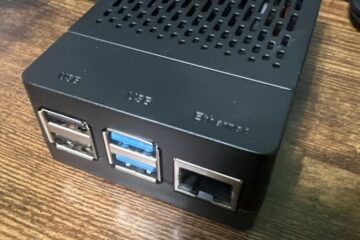
-Raspberry Pi Kit
-Micro SD card
-Raspberry Pi imager
-Laptop Flash drive
-Game controller (bluetooth controller)
I referred to the following tutorials and articles for help:
How to Set Up RetroPie on Raspberry Pi 4 (Updated) https://www.tomshardware.com/how-to/install-retropie-raspberry-pi-4
First Installation – RetroPie Docs https://retropie.org.uk/docs/First-Installation/
How To Install And Set Up RetroPie Easy Guide Raspberry pi 3 2 1 Or Zero https://www.youtube.com/watch?v=2QcC2GmV9Ew
RetroPie: A Step-By-Step Beginner Guide (with pictures) – RaspberryTips
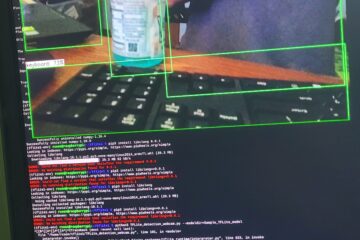
I started the project by downloading Raspberry Pi Imager on my laptop. I used the tutorials and articles above to help walk me through the process of setting up my Raspberry Pi Kit.
- In RaspberryPi Imager, select Emulation for game OS under operating systems.
- Insert MicroSD into the laptop and then eject when ready so the MicroSD can be inserted into the RaspberryPi.
- Connect the game controller to the RaspberryPi. Make sure that the bluetooth is connected to the USB first in order for the controller to work for the RaspberryPi computer. This is done under the RetroPie menu for bluetooth. Add your controller device and connect.
- Use the flashdrive to add games to the RetroPie system on the Imager by creating a folder named “retropie”. Plug the flashdrive into the Pi when you do this. Then remove the flashdrive and put into laptop.
- Games can be copied into the “retropie” folder so then they can be accessed when the flashdrive is plugged into the Pi.
- Start the Pi and the emulation so the games can load into the Pi and be played.
- Once games have be downloaded then you can begin playing.
Overall, I thought the project was fun and educational. I learned how to use a software that I never would have learned about. I also was able to make it fun by playing retro video games, which was a good reminder of being a kid. I thought the project was intimidating since I am not great with computers or technology but I am happy with how it all turned out. I think that the RetroPie project for the RaspberryPi unit is a great one for people who need to be excited about getting to use their project to get started.
0 Comments