- With all the different ideas for the Raspberry Pi project I ended up choosing the Retro Pi project. This was a given for me since I knew I could put older games onto this unit that I used to play as a kid. The thought of bringing back my childhood consoles was very exciting for me.
- Components
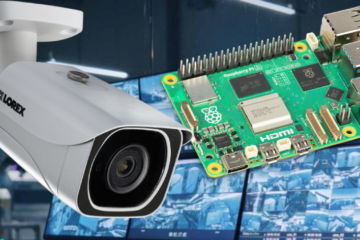
- Raspberry Pi 3 B+, Raspberry Pi Case, 32 GB Micro SD Card, USB MicroSD Card Reader, HDMI Cable, Micro USB Power Supply, Mini Wireless Keyboard, Wireless Keyboard Charging Cable, Raspberry Pi On/Off Switch, PS4 Controller, and PS4 Controller Charger.
- The first step for this project was to take the micro SD card and put the Retro Pi image on it that you can download from the Retro Pi website. Once this is done you can download etcher to put to Retro Pi image onto the micro SD card. After this you have to set up the WIFI through your Raspberry Pi, with the 3 B+ it is WIFI compatible. Once this is done you can download ROMS which are games and gaming simulators that let you play certain games on the Raspberry Pi. You can do this with a USB stick instead of over WIFI, but I did over WIFI because it was faster for me and easier. When you download the ROMS you want, you can send them over the internet to your Raspberry Pi by connecting to your Raspberry Pi server. This will only work when both PC and Raspberry Pi are on the same network. When installing ROMS onto your Raspberry Pi, make sure you put them in the correct console/system folder that the ROM is for or else it won’t be able to run. After this step just restart your Raspberry Pi and start playing the games.

- Links
- I liked the outcome of this project because all the games worked on it and were playable with no lag or buffering. The screen was cropped a little bit but that’s understandable. The overall resolution was good too for how old the games were. I had little problems, the only thing I ran into was waiting for the Raspberry Pi server to be connectable, but after waiting 5-10 minutes I was able to create a connection to transfer ROMS. This was a very easy project that anyone can do.

0 Comments