The idea of a retro gaming station really jumped out to me. I grew up playing old gaming consoles I dug out of even older shoe boxes. I often enjoy revisiting them, realizing new things and re-experiencing old things. Especially Super Mario 64 on the Nintendo 64, this game carries the most memories with me.
Overall I needed:

- Raspberry Pi 3 (1)
- Raspberry Pi Case
- 32 GB MicroSD card
- USB MicroSD card Reader
- HDMI Cable (3)
- Micro USB Power Supply (2)
- Wireless Keyboard Dongle (6)
- Wireless Keyboard (For system configuration) (7)
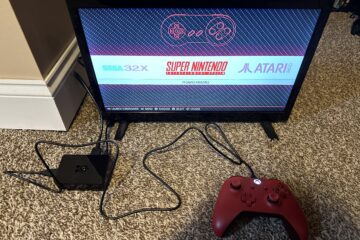
- Xbox One Controller (For game play controls) (4)
- USB C cord (5)
Step by step I followed a video titled “Retropie 3.6 Tutorial – A beginners Guide to Setting up RetroPie on the Raspberry Pi 3”
Once I had the Retro Pie setup I uploaded a Super Mario 64 N64 rom and began playing. Overall it works alright, but often the game will experience issues where there is too much traffic and start to lag. Once I was able to make it lag to the point where it caused some serious distortion, but it never crashed on me.

Overall I enjoyed the project but it didn’t satisfy it’s intended use. The lag can really get in the way of enjoying newer titles, and that’s simply because the raspberry pie isn’t intended to perform emulation of games such as SM64. If you are looking for an emulator for games N64 and beyond (including PlayStation 2 and Xbox 360) I would suggest trying Shield TV Pro. But I have yet to try Shield TV out, I plan to very soon though.
0 Comments