The first thing that I did, was checkout my Raspberry Pi kit. Then I started the initial set up process of my Retro Pi and started configuring everything. After starting my set up, I started looking into websites where I could downloading my games from, and I was told about a particular website that works well for this project, called Romsmaina.com.
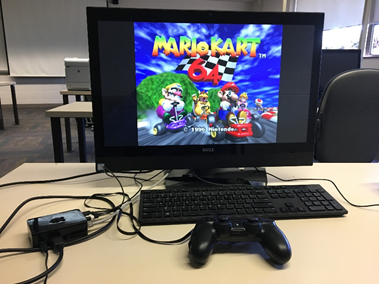
After finding my website for my games, here comes the fun part of the project: downloading and testing the games that I had handpicked for my project. My favorite game to play on my Retro Pi is Mario Kart 64 because it was very similar to the original one on the Nintendo 64 that I had as child.
Parts List:
Raspberry 3
Raspberry Pi case
32 GB MicroSD card
USB MicroSD card reader
HDMI Cable
Micro USB Power Supply
Mini Wireless Keyboard Keyboard with Trackpad
Wireless Keyboard Charging Cable
Raspberry Pi On/Off Switch
The initial set up and configuration was a little bit confusing at first, along with the testing process. After a few times of hooking it up, and playing with my Retro Pi, it became easier to hook it up. Also, downloading games and unzipping their files was difficult at first because I had never been expose to anything like that before. Adding more games became easier with time and practice and understanding. I do like how my overall project turned out; however I think I would have bought mine the first time, so I could keep it after this class. The hardest part about my Retro Pi project was the initial set up process because it was extremely confusing for me.
0 Comments