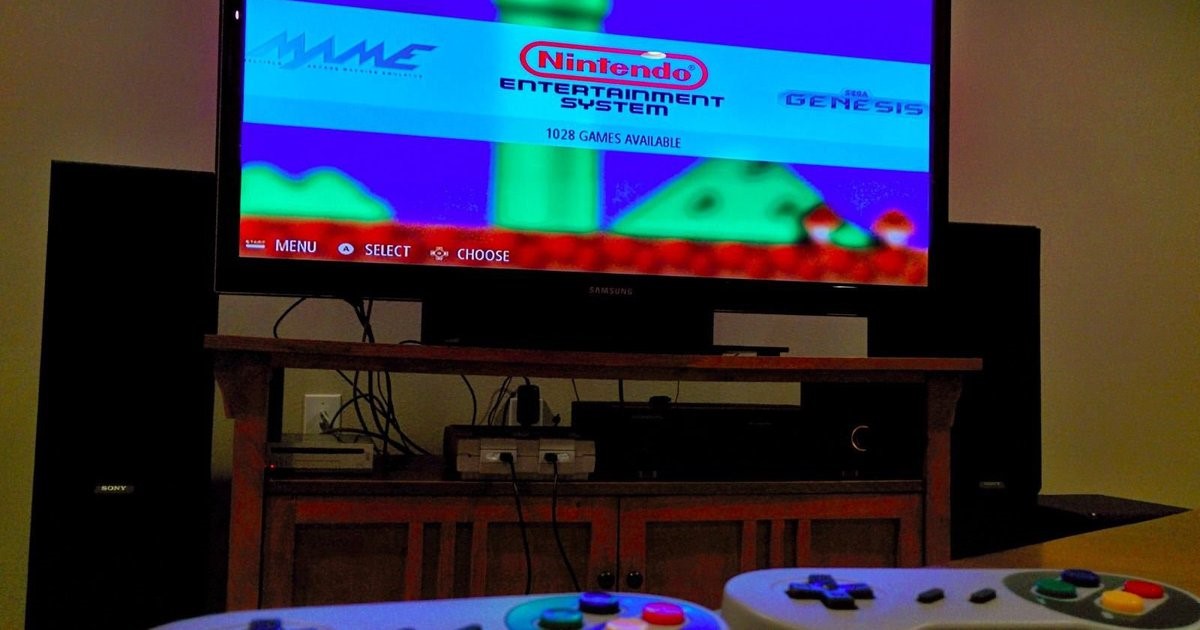
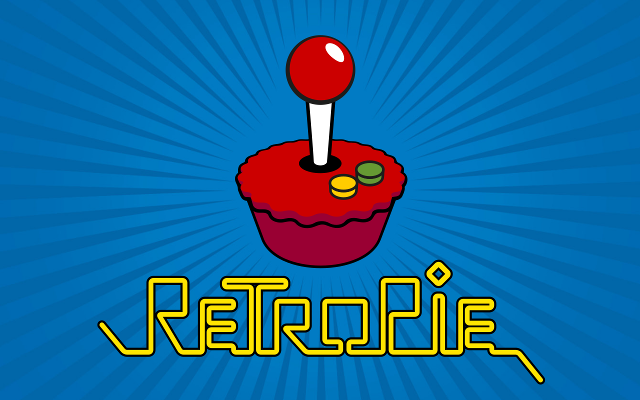
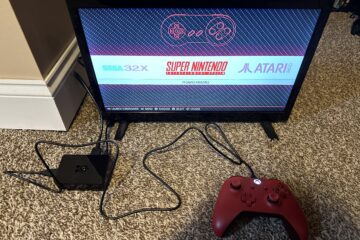
I chose the RetroPie project because I thought it would be cool to be able to go back in time and relive the old games. If you wanted to go back in time and play your childhood video retro games, then RetroPie is the one to go with. It was cool to see an old retro gaming machine again considering it was something that I had to create, and it was on a new machine.
To be able to create the RetroPie project you need a list of components to work with.
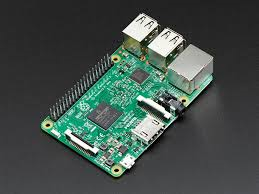
You will need 1 each of the following:
1. Raspberry Pi 3
2. USB gamepad
3. MicroSD card
4. Raspberry Pi power supply
5. Raspberry Pi 3 case
6. HDMI Cable
7. MicroSD card reader
8. USB Keyboard
9. Monitor/TV screen
10. Computer
11. Wireless Controller
12. PATIENCE!!!!
I used quite a few tutorials in the making of this project. There was a few youtube videos that helped as out as well as our professor that asked numerous questions for me along the way 😊 https://binged.it/2qTIH7z, https://howchoo.com/g/n2qyzdk5zdm/build-your-own-raspberry-pi-retro-gaming-rig, This site really helped me the most: https://retropie.org.uk/docs/First-Installation/.
The RetroPie Project was probably the coolest one to program and see how everything worked together. It was a little frustrating in the beginning but well worth it when it was done. RetroPie allows you to turn your Raspberry Pi into a retro gaming machine.
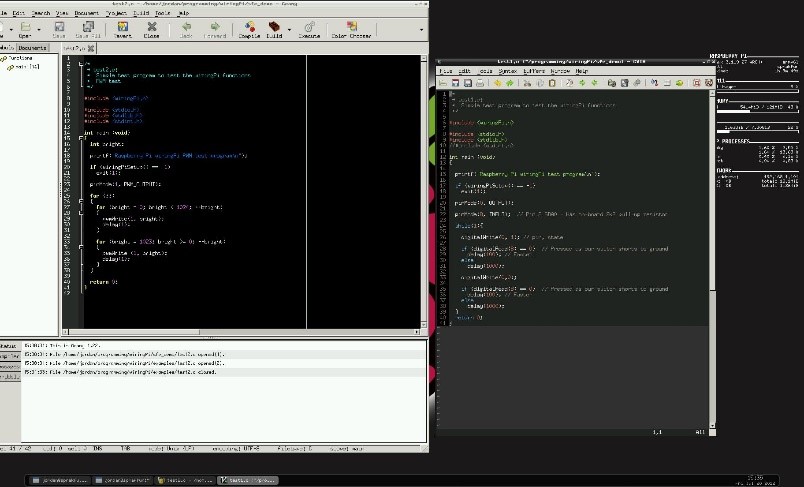
At first, I kind of rolled my eyes and thought to myself “How dumb is this project!” As time went on I liked creating it. Yes, it was hard! Yes, you need A LOT of PATIENCE! Yes, you may code things 900 times until it comes out right but when it’s done its cool. If it wasn’t for the professor I honestly probably would have gave up on this because no matter what I did in the beginning, nothing worked. Do not give up, keep trying if something doesn’t work. My recommendations is that you need to have patience when doing this.
0 Comments