
The purpose of this blog is to document my experience setting up a RetroPie. In this blog I will cover what worked best for me, what didn’t work, and any tips and tricks I discovered along the way to getting my RetroPie set up. Hopefully, someone will be able to read this blog and be able to avoid some of the pitfalls I came across when working on mine.
Gather Necessary Materials
First, get together everything needed in order to setup RetroPie:
- Raspberry Pi 3 or above
- A microSD card with 8GB or more of data (32 GB is recommended)
- A microSD card adapter (unless you have a reader that natively can read microSD cards)
- An SD card reader
- USB Keyboard
- A USB Controller (or wireless controller with a receiver)
- HDMI cable
- Raspberry Pi power cable
- TV (obviously)
For the Raspberry Pi, I used a Cana Kit that came with a Raspberry Pi 3. The Cana Kits are quite nice and a variety are available on their website. They usually come with a Pi, case, power card, tiny wireless keyboard, power cable, etc. Other kits are available on Amazon that are very nice, as well. The kit I used was provided to me by my college. It came with a microSD card and an adapter, so I didn’t have to use the included reader.
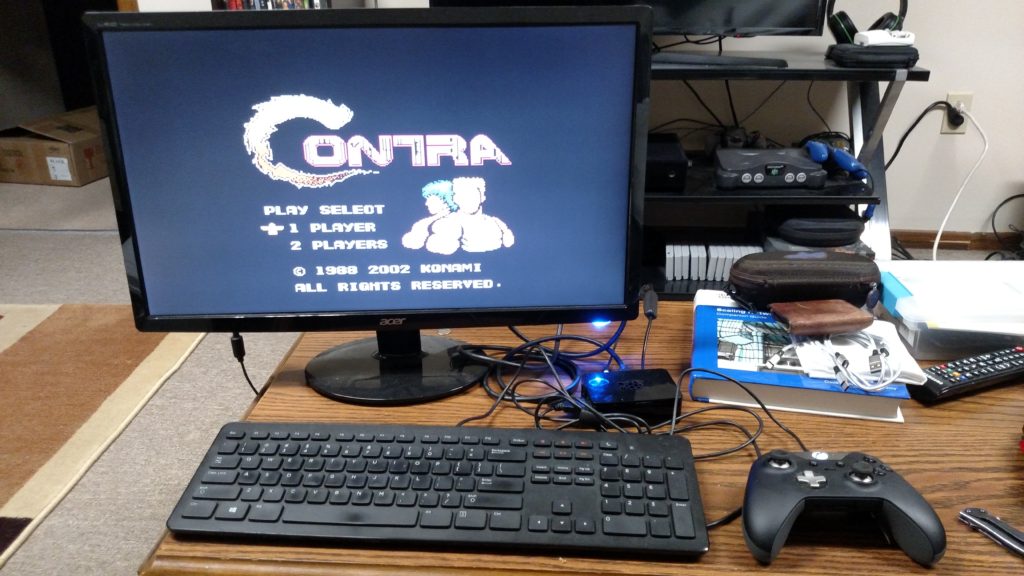
I used an Xbox One controller that I plugged in via the charging cable, but I think any controller that uses USB will be recognized. I highly recommend something with analog sticks. The first time I setup my RetroPie, I did not enable the analog sticks and it was not great having to use the d-pad for menu navigation and play. The analog sticks make things a lot easier and it was actually kind of nice to go through some old Nintendo games with the analog stick rather than the d-pad. There are many good options to choose from when it comes to controllers for the RetroPie. I find these quite intriguing. Or build a cabinet.
Installing and Configuring RetroPie
The easiest way to install RetroPie is to download the SD image, which is a prepackaged version of RetroPie running on top of Raspbian. Download RetroPie here and then follow these instructions.
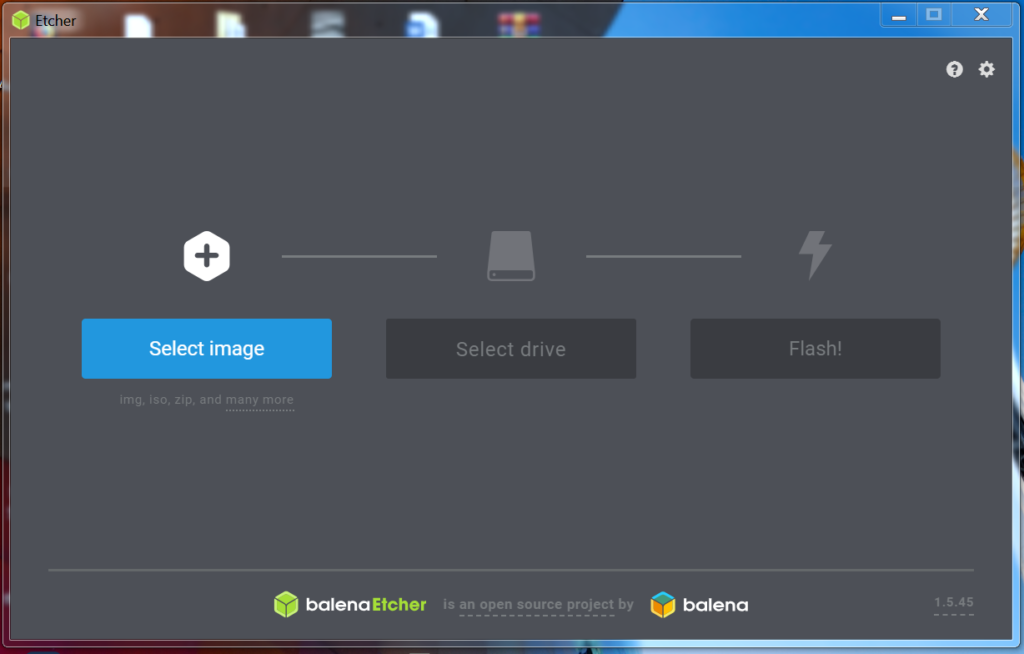
I used the microSD card adapter and inserted the microSD card into my card reader on my laptop. I then downloaded the image to a folder on my desktop I named RetroPie. I extracted the image file with 7-Zip. I then downloaded balenaEtcher and used this to flash the SD card with the image file. This is pretty straight forward. Choose the image, choose the SD card, click Flash!
Once the SD card is flashed I highly recommend following this guide. I did not follow this guide the first time I attempted to set up a RetroPie, and some of the tips in that guide, like flipping the A-B, X-Y buttons and enabling the left analog stick were very helpful in creating the best experience possible when playing games on the RetroPie. This is especially true when using an Xbox controller. The guide also covers copying Roms via SSH, which it shows you how to enable. This is not necessary, and I’ll cover how to do this a different way.
Connect RetroPie to the Network
Once the RetroPie is set up and the controller is configured you are now ready to play your games!
Just kidding! You need to get some ROMs first. I can’t recommend downloading illegal ROMs, so you will have to do your own research on where to find these. I will say there are collections of ROMs out there available for purchase/download that come with just about every game that ever came out for any system. My recommendation is to spend some time googling for one of these. As always, make sure to run a virus check on whatever ROM is downloaded, even if the source looks legitimate. Big collections make it easy to hide all kinds of nasty bugs.
I downloaded a large collection of games and then ran an antivirus scan. Several files were flagged as Trojans. Were they really Trojans or were they just files with Trojan-like properties? I chose to take no chances and removed them from the collection. They were from some system I hadn’t even heard of, anyway, so it didn’t really matter to me. I then ran a full virus and malware scan on my computer just to be safe.
The next thing you need to do once you’ve downloaded some ROMs is get those ROMs onto your RetroPie so you can play them. The easiest way to do this involves connecting your Pie to your home network, but you can also use a USB stick. If possible, it’s easiest just to plug an ethernet cable from your RetroPie into your router. Otherwise you will have to connect to WiFi.
I chose to connect my RetroPie to WiFi. This can be done via the emulation station on your RetroPie. In the menu on the RetroPie at this point there are two options – Amiga and RetroPie. I chose RetroPie, and then scrolled all the way to the bottom of the menu and selected WiFi. I chose ‘Connect to a Wifi Network,’ chose my network from the list of available options, put in my password and hit connect. One important note – for some reason on my RetroPie, whenever I typed ‘#’, which was a character in my password for my wireless network, 2 characters were entered into the password field. To get around this, I changed the password on my network and was able to connect my RetroPie to Wifi.
Transferring ROMs to the RetroPie
Now that I had the RetroPie on the network I was able to use file explorer to access the file directory on the RetroPie. To do this:
- Open a file explorer on your PC
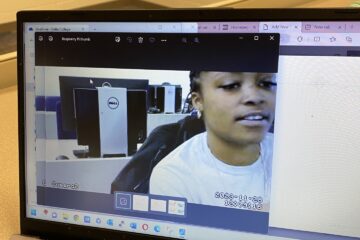
- In the top bar of your file explorer type in \\retropie
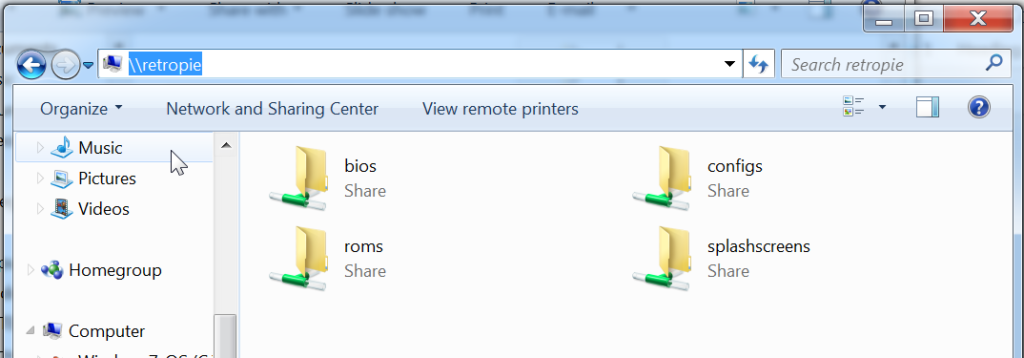
- Double-Click on roms to open up a list of files like the ones in the image below
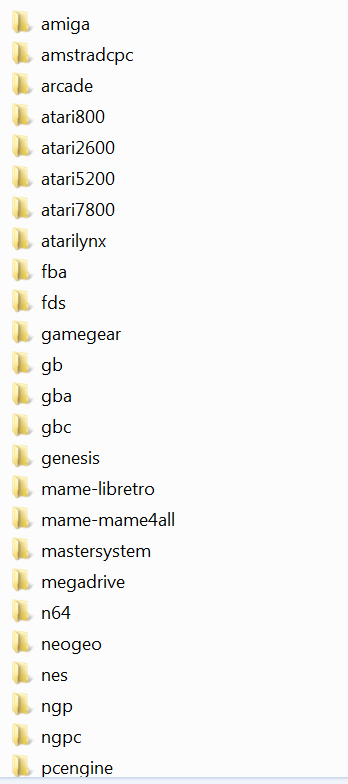
- Open a new file explorer and find your ROM files you downloaded
- Drag and drop ROM files from your PC to the proper system folder on the RetroPie (If you have an N64 game, put it in the N64 folder)
- Once you have loaded the files, from the main screen on the RetroPie press Start on your controller, then choose Quit, then choose Restart EmulationStation.
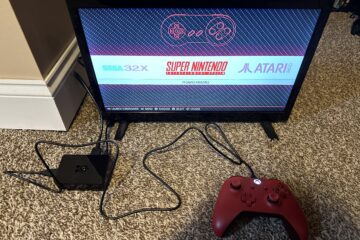
- When EmulationStation restarts you should be able to choose a system from the main menu, which will open up a list of games you’ve loaded onto that system
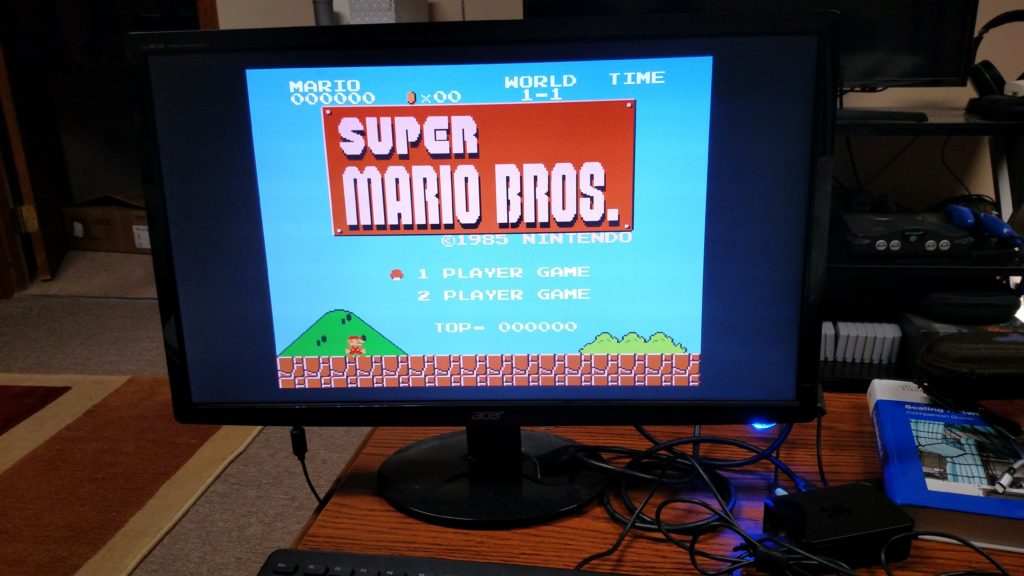
This is where I ran into issues. The first two ROMs I loaded onto my RetroPie were .zip files containing Super Mario Brothers and Contra. These worked flawlessly.
When I tried to do the same thing with Playstation or N64 games, they wouldn’t load and in some cases the system wasn’t even available to choose from. I had to do a little research, but here’s what I found out.
So, for Nintendo games, it is perfectly fine to put the .zip file in the nes folder and be done with it. Your game should play, and you can save space this way. However, this is not the case for other systems.
The system that I had the biggest trouble with was the Playstation. I wanted to install Crash Team Racing. My childhood memory not being very reliable, I thought this was an N64 game and couldn’t figure out why it wouldn’t play. I finally realized it was a Playstation game and moved the ROM to the correct folder.
The game started to play, then abruptly stopped. I noticed an error in the bottom of the screen that said “No playstation BIOS found.”
I found a reddit thread talking about this problem
e39’s comments in that thread make it really simple. I then found these two pages about downloading and installing different Playstation bios:
https://github.com/RetroPie/RetroPie-Setup/wiki/Playstation-1
https://fantasyanime.com/emuhelp/psx
Once I was able to download the Bios, I made sure to follow e39’s instructions and rename the file with all caps. I navigated to \\retropie in file explorer and dropping the file in the BIOS folder. I then made sure that the game files were extracted in the ROMS\psx folder. You need both the .cue and .bin files for PSX games. Before, when the game started to play, that was the .cue file, but because there was no BIOS it couldn’t cue the appropriate file to start the actual game, and therefore went to a black screen.
I restarted the Emulation Station and Crash Team Racing loaded perfectly.
I also loaded up Mario Kart 64 for N64. For the N64, you just have to extract the .n64 file and place it in the N64 folder.
Things I Didn’t Do (Yet)
- Hook up multiple controllers
- Test two player mode
- Work with other systems besides Playstation, N64, and NES
- Figure out if games save automatically or if you have to somehow program the RetroPie to act as though there are “Memory Cards” in the system that you can save to
Conclusion
I really liked setting up the RetroPie and think it’s a great place to start for beginners who are looking to get into making things with Raspberry Pi. It’s also a good place for people to start learning how to troubleshoot an issue if they are looking to get into IT. I used a lot of troubleshooting and googling skills that I learned from my time at Help Desk to set this up.
For anyone looking to set this up, my recommendation is to follow the directions in the guides, have patience, and be prepared to run into trouble. If you run into trouble, start googling. You will find help. Most things are so well documented on the internet now that if you run into a problem, chances are someone else has ran into that problem, too, and you can see how they solved it or find a thread on a forum about solving the problem.
Game on!

0 Comments