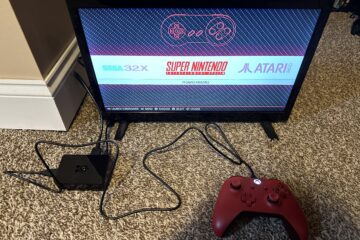
Retro pie. Oh the nostalgia… I chose this as a project and it turned out great in the end, not so much in the beginning… .I started out buying the Raspberry Pi 3B+ Canakit, which included everything needed to get the system setup. The kit included the Pi motherboard, case, 32MB micro SD card, micro SD card reader, HDMI cable, card case and power supply.

Set up was quite easy. All of the instructions were very clear, which made formatting, downloads and up start very easy to understand. A very helpful link can be found here, {https://howchoo.com/g/n2qyzdk5zdm/build-your-own-raspberry-pi-retro-gaming-rig}. My problem came after I had everything ready to go. My micro SD was locked and loaded with Retro Pi ready to be uploaded with ROMs. The issue I was having was being able to connect to a monitor. I tried multiple times on multiple TV’s and all I kept getting was the ‘No Signal’ on every screen I tried. I had it working once, what could’ve went wrong? I figured it was a hardware issue after I took it to a local computer repair shop and they had the same issue. So, I had two options. Return the Pi or seek help. The second option proved the better, as my instructor was able to bring it back to life. The issue ended up being within the in line power switch and the sequence of powering the Pi up. POWER SUPPLY LAST!
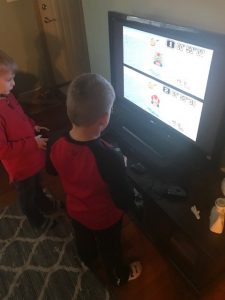
In conclusion, after all was said and done, I would definitely recommend this project to anyone. It has been a great technological experience and a great time for the family.


0 Comments