This was the first time I ever worked on a Raspberry Pi project, and I was a little intimidated doing it. However, this year I started learning how to program and I will say what I have learn this past year has made this project a little less intimidating to work on.
Resources
Raspberry Pi
SD card
breadboard kit
Wi-Fi
Enclosure
Speakers
Extension Cord x 8
Christmas Lights
Artificial Christmas Tree
Power Strip
Setup
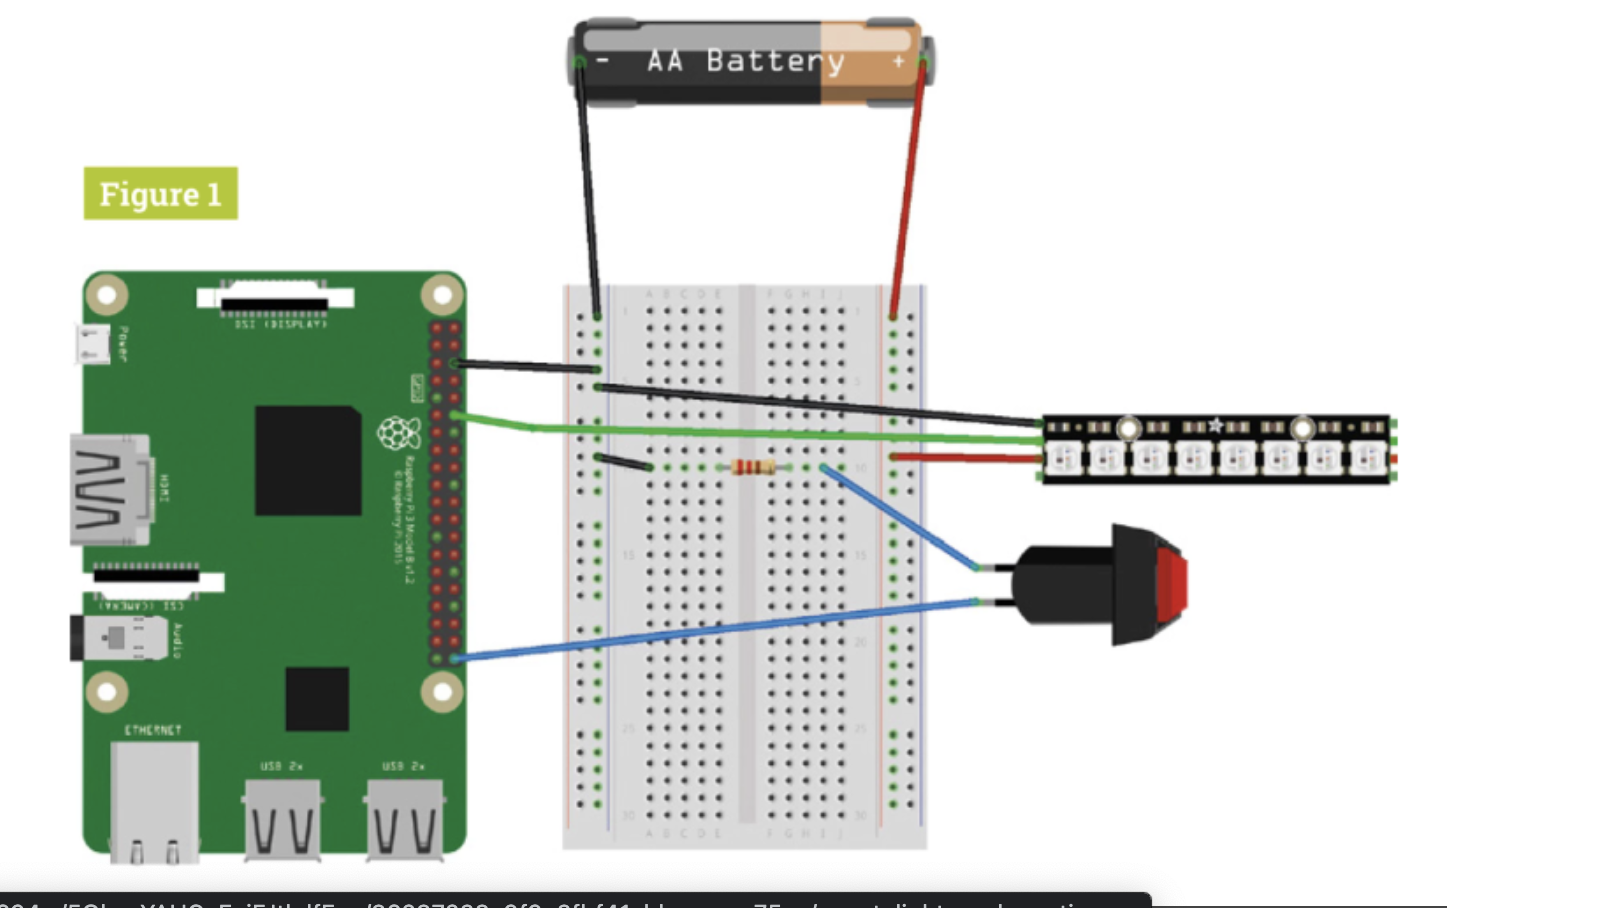
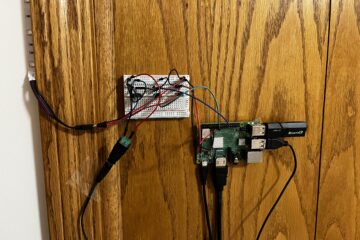
Below I have included a few links to the resources I used to help me get through the project. The first few weeks working on this project was a little bit of a struggle. However, since I am familiar with python, I was able to figure it out. I had problems with the breadboard, and the placement of the resistors. I used a terminal window to code. Below is a picture of my breadboard setup and the links to resources I used.
https://www.hackster.io/kamaluddinkhan/christmas-tree-lights-controlled-by-a-raspberry-pi-ba360e
Conclusion
This project has taught me a lot, not only did I learn more about Python, but also how to run a Christmas light show with my artificial tree with the Raspberry Pi. For anyone just getting started with the Raspberry Pi, I would suggest this specific project. What I really enjoyed about this project was how simple and basic it really is. Took me a few weeks to figure out somethings, but overall, it really was simple. I hope everyone else’s project is going well and thank you for reading.
0 Comments