Overview
The Raspberry Pi is a great tool capable of countless different computerized applications. As I contemplated which project I wanted to conduct research on, I decided on creating a source for Bluetooth audio to be played from. My project focuses on connecting a device, in this case my iPhone, to the raspberry pi system using Bluetooth through installation of A2DP, and activation of the BlueZ and Pulse audio applications. With a secure connection between my phone and the Raspberry Pi, I was able to play audio through the Pi with a speaker connected to the aux jack located on the Pi.
Getting Started
In order to create this project, the following parts were needed:
- Laptop
- Raspberry Pi
- MicroSD card
- MicroSD card reader
- Speakers with 3.5 mm jack
- MicroUSB power supply
When I first read about this project that we had to complete, I was definitely worried. I am not very savvy when it comes to technology and software programming, which is why I wanted to take this class. This website, Raspberry Pi Bluetooth Speaker: Play Audio Wirelessly using Raspberry Pi (circuitdigest.com), was the tutorial that I followed along with to create my project. However, it was a very basic tutorial, so I did have to do a lot of outside research in order to be able to successfully follow along.
Project Details
Before I began to work on creating a Bluetooth connection, I had to run the basic set up for the Raspberry Pi. In my case, I only have a laptop to work from, therefore in order to connect to the Raspberry Pi I had to create a secure shell (SSH). I downloaded the OS onto the pi’s SD card, and connected the Pi to my home WiFi network. Then I followed this tutorial on how to use SSH to headlessly connect to a raspberry pi, How to Enable SSH on Raspberry Pi [Definitive Guide] (phoenixnap.com) . I used my home WiFi network website to find the Raspberry Pi’s IP address, then ran that through the application PuTTY.
After successfully connecting to my Pi via SSH, the fun part began. I followed the codes on the previously stated websites tutorial and ran them to enable the Raspberry Pi’s Bluetooth systems. Then, following along with this setup, How to setup and connect to other devices using Bluetooth on Raspberry Pi (linuxhint.com), I was able to connect to my Pi from my phone. At last after a lot of research and initial confusion, I opened Spotify on my iPhone, clicked play, and the speakers connected to the Pi were playing my songs!
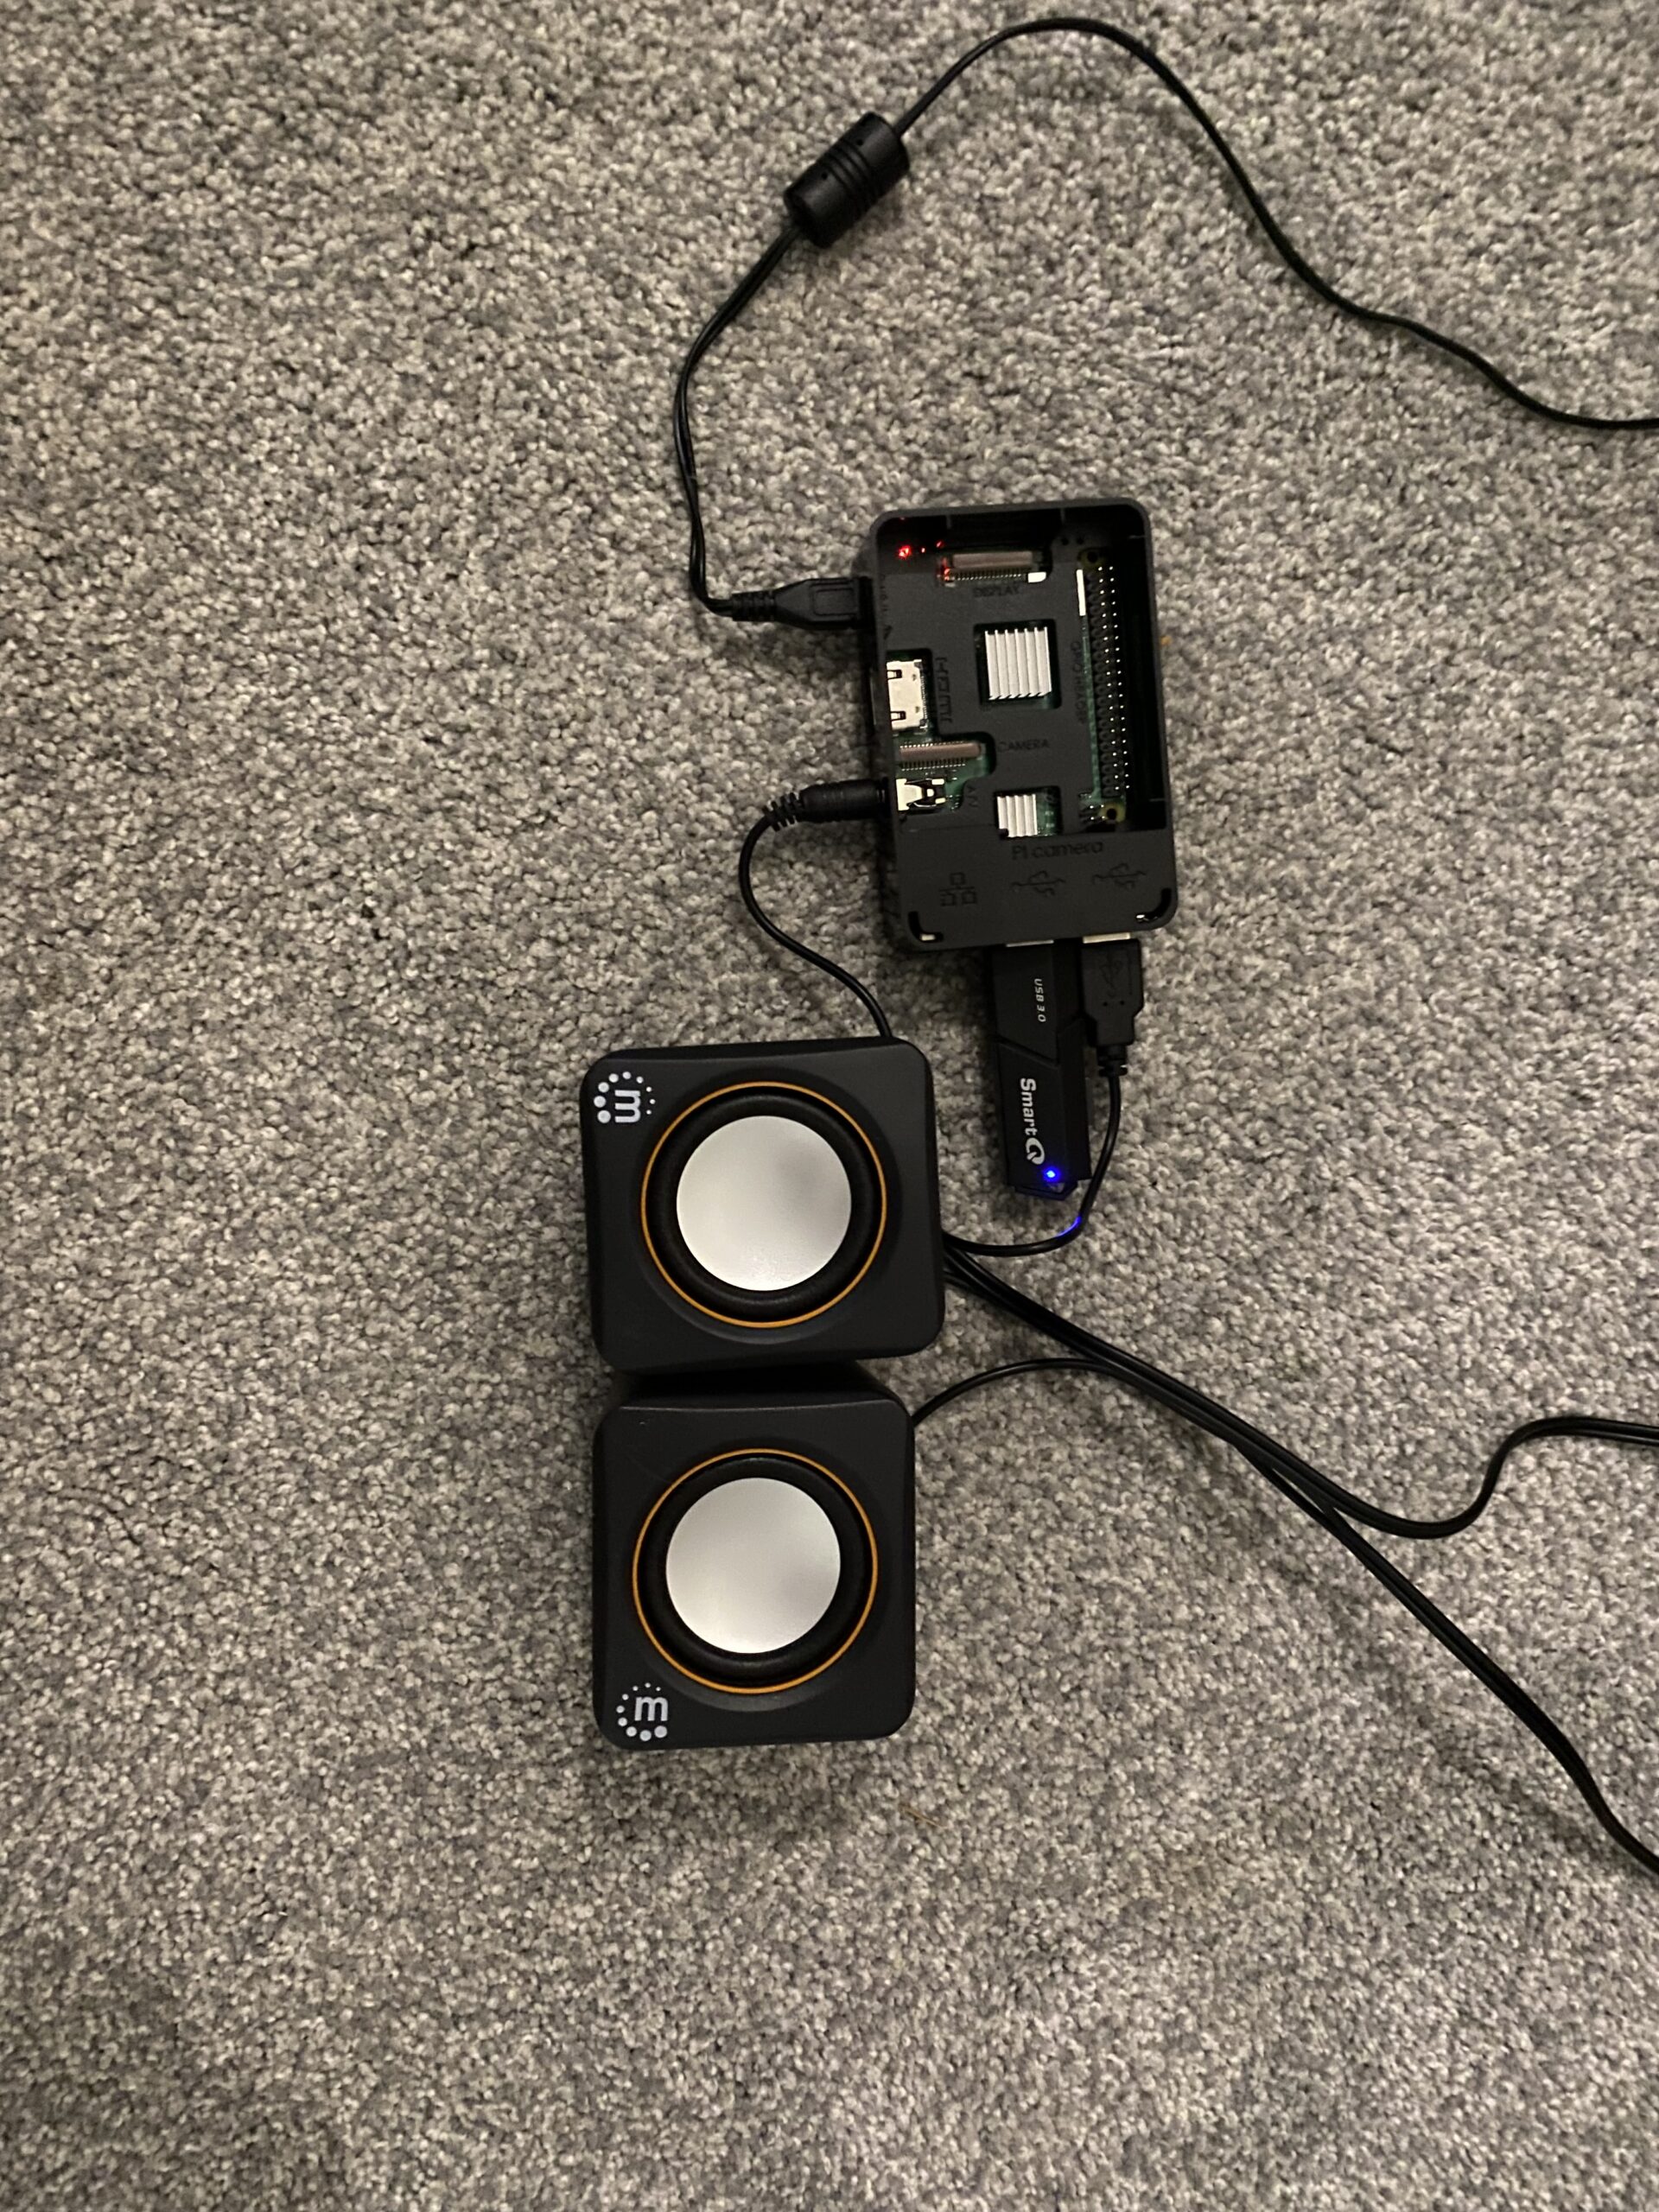
My Pi Set-Up
Project DEMO
https://youtube.com/shorts/K1c2Y2BBU00
Concluding Remarks
As I began this project, I thought there was no way I was going to be able to go through with it and complete it. Every website I went on seemed too complicated for me to follow along with. For others working on this project in the future, finding websites that break it down into “beginners” terms makes it a whole lot easier! I struggled figuring out how to successfully SSH to my Pi, but finding the right website made all the difference. When I was able to play music through the speakers, I got so excited. It was important for me to find a project that interested me, and to follow through with it. Regardless of how many times I was stuck and did not know what to do next, I am very happy to say I successfully created a Bluetooth speaker through the use of Raspberry Pi.
0 Comments