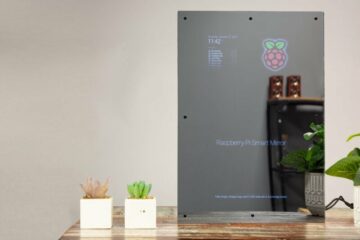
In today’s tech-savvy world, smart home assistants like Google Home have become indispensable for their convenience and functionality. But did you know you can create your own version using affordable hardware like a Raspberry Pi? In this blog post, we’ll guide you through the steps to create a DIY Google Home using Raspberry Pi, allowing you to enjoy voice commands, smart home controls, and more, all customized to your liking.
What You’ll Need:
- Raspberry Pi 3 [Recommended] or Raspberry Pi 2 Model B [Supported]
- MicroSD Card: Minimum 8GB, with Raspberry Pi OS installed.
- USB Microphone: Ensure it’s compatible with Raspberry Pi.
- Speaker: USB or 3.5mm jack speaker for audio output.
- Internet Connection: Either Ethernet or Wi-Fi.
Link: https://circuitdigest.com/microcontroller-projects/raspberry-pi-smart-home-with-google-assistant
Creating your own Google Home with Raspberry Pi is not only a fun DIY project but also a practical way to integrate smart home technology into your life at a fraction of the cost. By following these steps and exploring further customization options, you can tailor your smart assistant to meet your specific needs, whether it’s controlling lights, playing music, or checking the weather with just your voice. Embrace the world of DIY tech and enjoy the limitless possibilities of your homemade Google Home!
The link above covers everything from setting up your Raspberry Pi, installing the necessary software, and configuring Google Assistant SDK, to customizing your Google Home with additional functionalities. It’s a comprehensive resource that will help you embark on your DIY smart home assistant project successfully. Enjoy building your own Google Home!

0 Comments