I chose the RetroPie project for my RaspberryPie as I found the idea of making your own gaming system intriguing. This project allows you to set up your RaspberryPie as a reto gaming system and you can then download emulators and games to play on your tv or monitor.
Supplies used:
- RaspberryPie computer
- RaspberryPie case
- Micro USB power supply
- Micro SD card reader
- Micro SD card
- Pie power switch
- HDMI cord
- USB
- Monitor
- USB Keyboard/ USB controller
The tutorial I used is https://retropie.org.uk/docs/First-Installation/.
While I chose games from https://pdroms.de/ and https://www.zophar.net/pdroms.html.
Once you get your RetroPie set up you need to load games onto the USB which will then load them into your RetroPie. Finally you can load the system and you will see options for games to play and different systems to emulate.

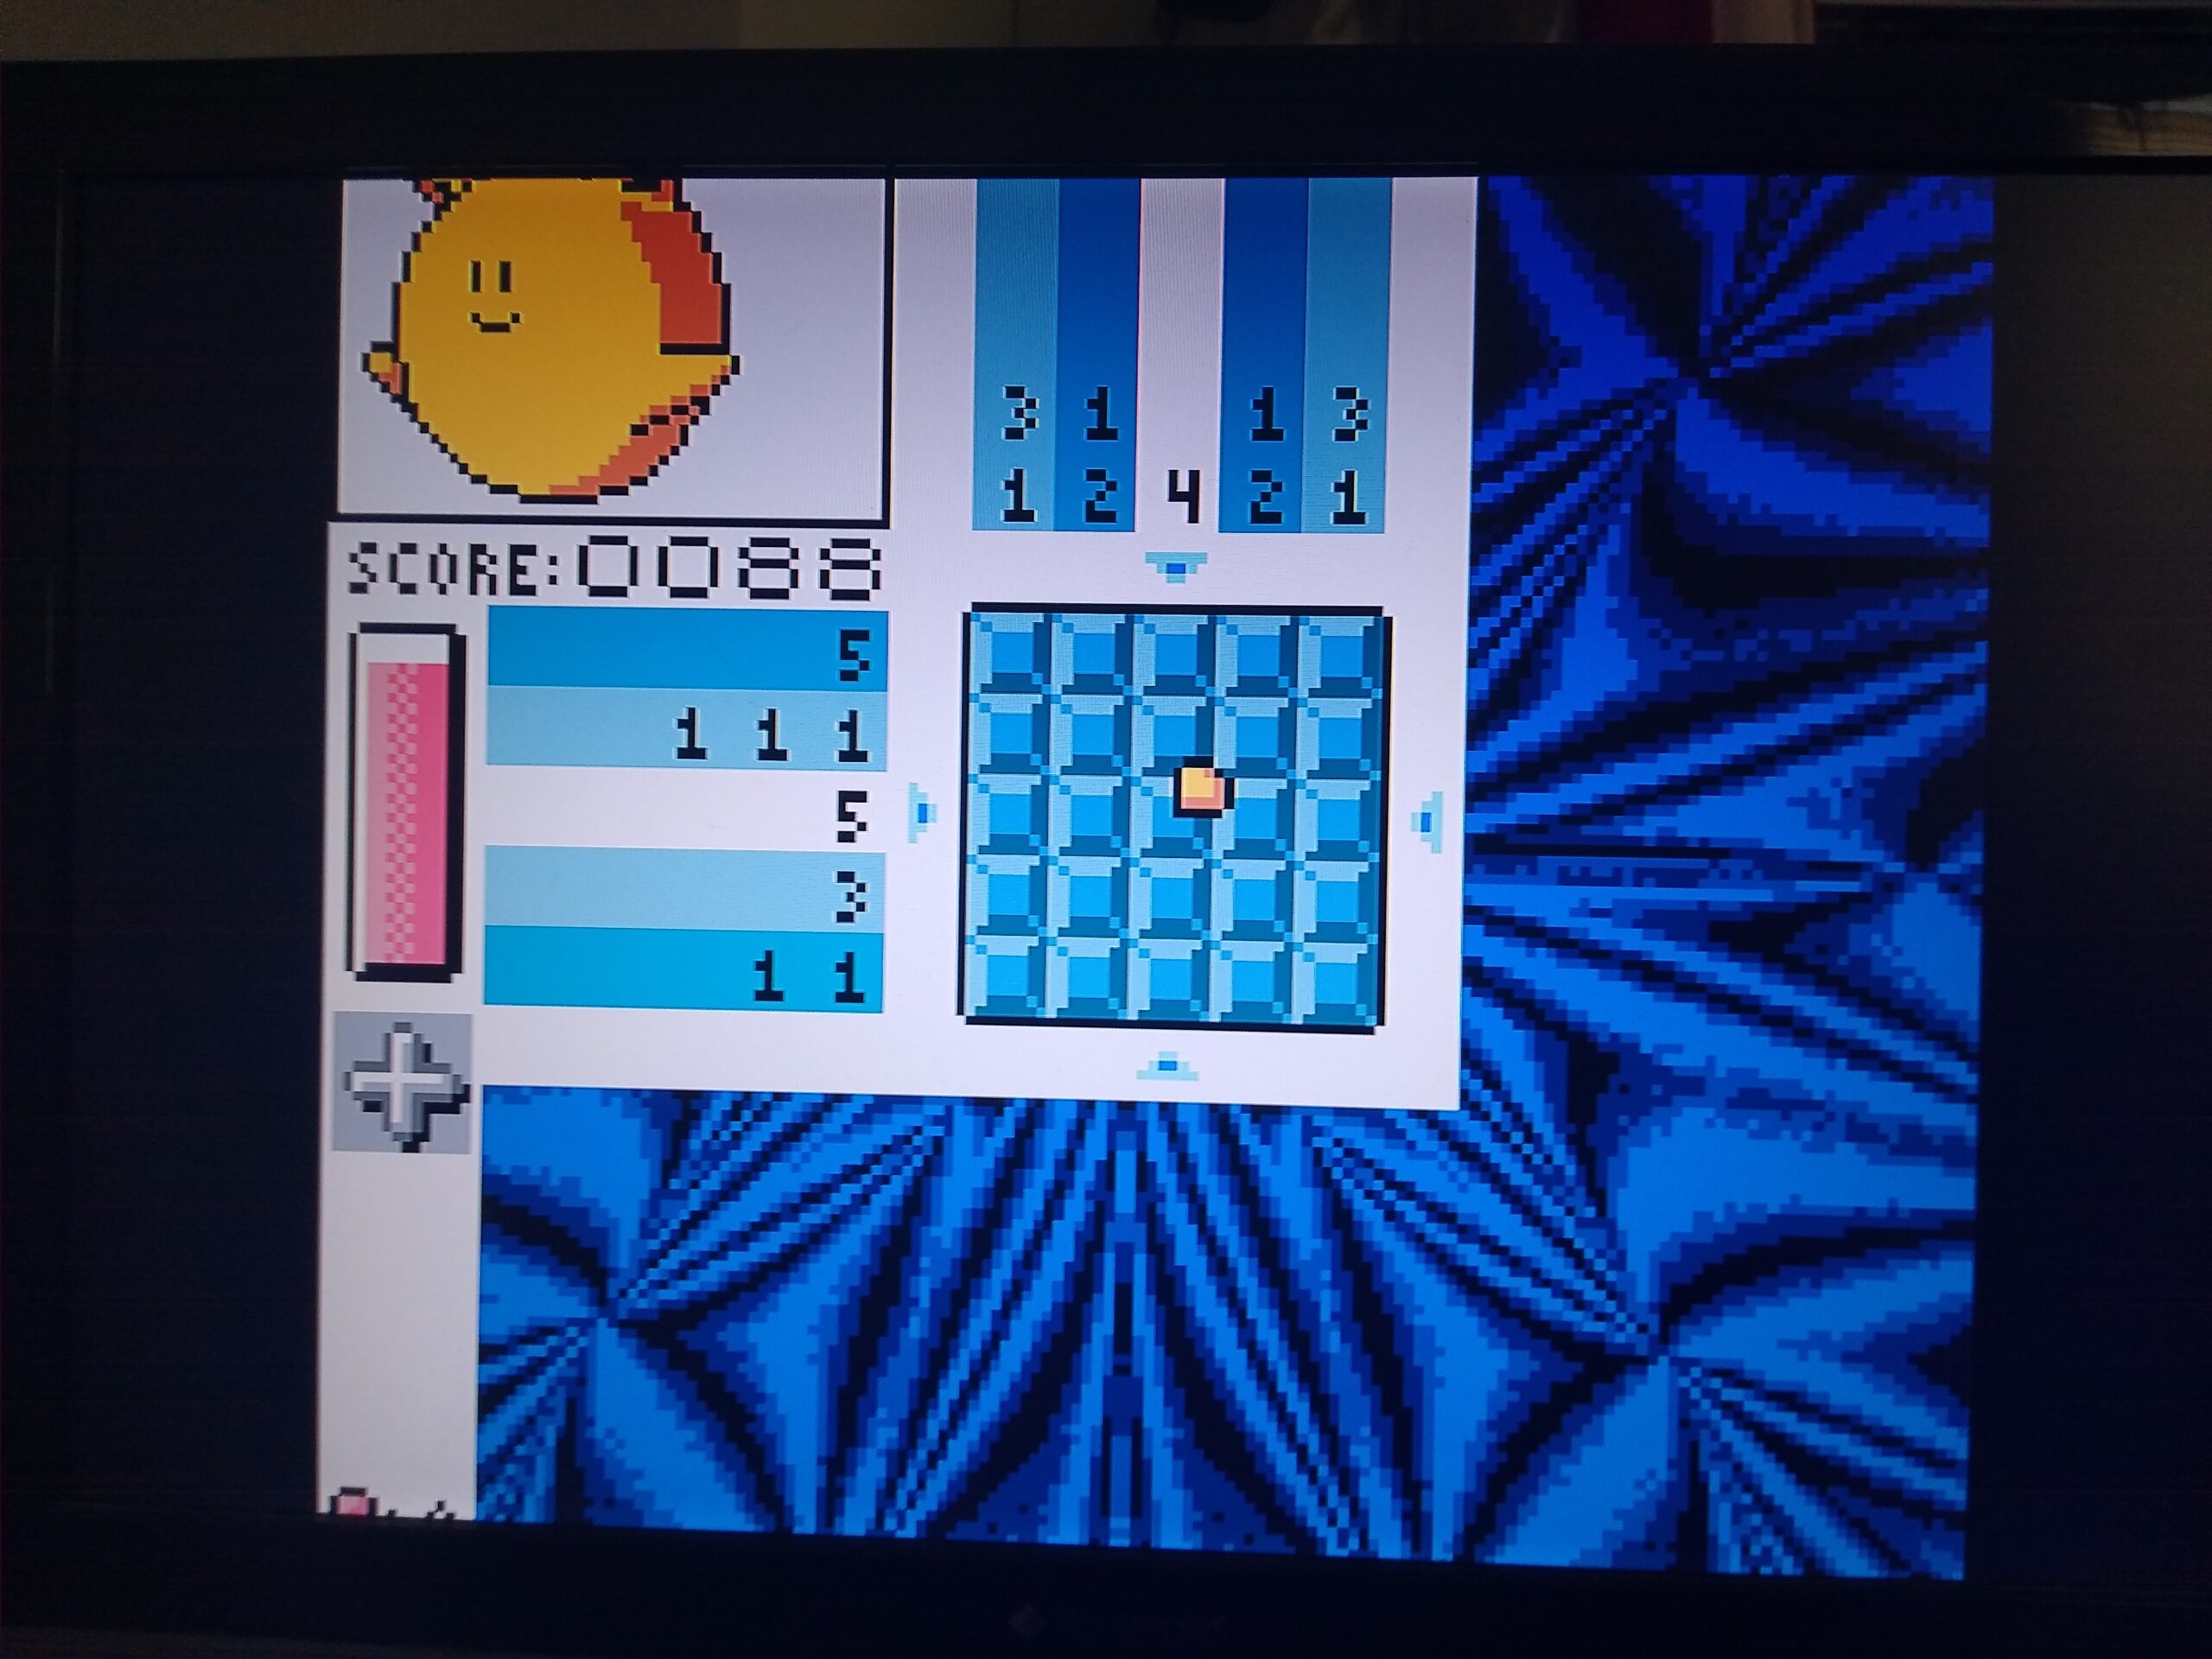
Overall, this is a relatively easy project to start off you journey into RaspberryPie. I enjoyed exploring the retro games I loaded in and seeing the logos as I emulated old systems. The one piece of advice I have is that if you use a USB based controller or keyboard, be very careful when mapping your buttons. My controller unknowingly had a half broken cord which resulted in the buttons being mapped incorrectly and I was unable to reset them using the controller. Therefore I had to resort to completely starting over in order to map a USB keyboard instead.
0 Comments