Retro Gaming… With Pie!
So maybe your a veteran of the old Nintendo vs. Sega console wars and the phrase, “Sega does what nintendon’t!” is etched into your core memories and you just want to relive those classic 16-bit glory days. Maybe your just looking to play the all those classic games you never had enough money as a kid to buy. Or maybe you just want to try out an award winning classic game from an era you never lived in. Either way I’ve got the perfect solution for you and it’s Pie. No, no the other kind as in a Raspberry Pi miniature computer.

“But Matt!” (because everyone calls me Matt anyeways) you say, “Aren’t those Raspberry Pi things for hipsters who never shut up about them?”
To which I would say “Yes…! But actually no.”
I’ll explain the hipster problem later on but for now lets focus on the big picture issue.
The thing is with how few games get ported to newer systems nowadays, not to mention the outrageous prices of games that are more than 20 years old at this point, a Retro Pi system is your best bet on experiencing all those classic gems. In this short article I’m going to give you some instructions on how to get your own (mostly legal) retro video game console working.
First and foremost your going to need a Raspberry Pi. These little 35$ computers have usually been the brains behind every technological do-it-yourself project for the past 10 years or so. Once you’ve got that you’ll need to spend a little more cash for some extra peripherals like:
Raspberry Pi Case
32GB Micro SD Card (16 is probably the lowest you want to go)
USB Micro SD Card Reader
HDMI Cable
Micro USB Power Cable
Raspberry Pi On/Off Switch
USB Keyboard
USB Mouse
USB Memory Stick
USB Controller (You can get these in classic style too!)
TV (with an HDMI port)
Your Computer
and a handful of LEGALLY obtained ROM backups of your classic collection
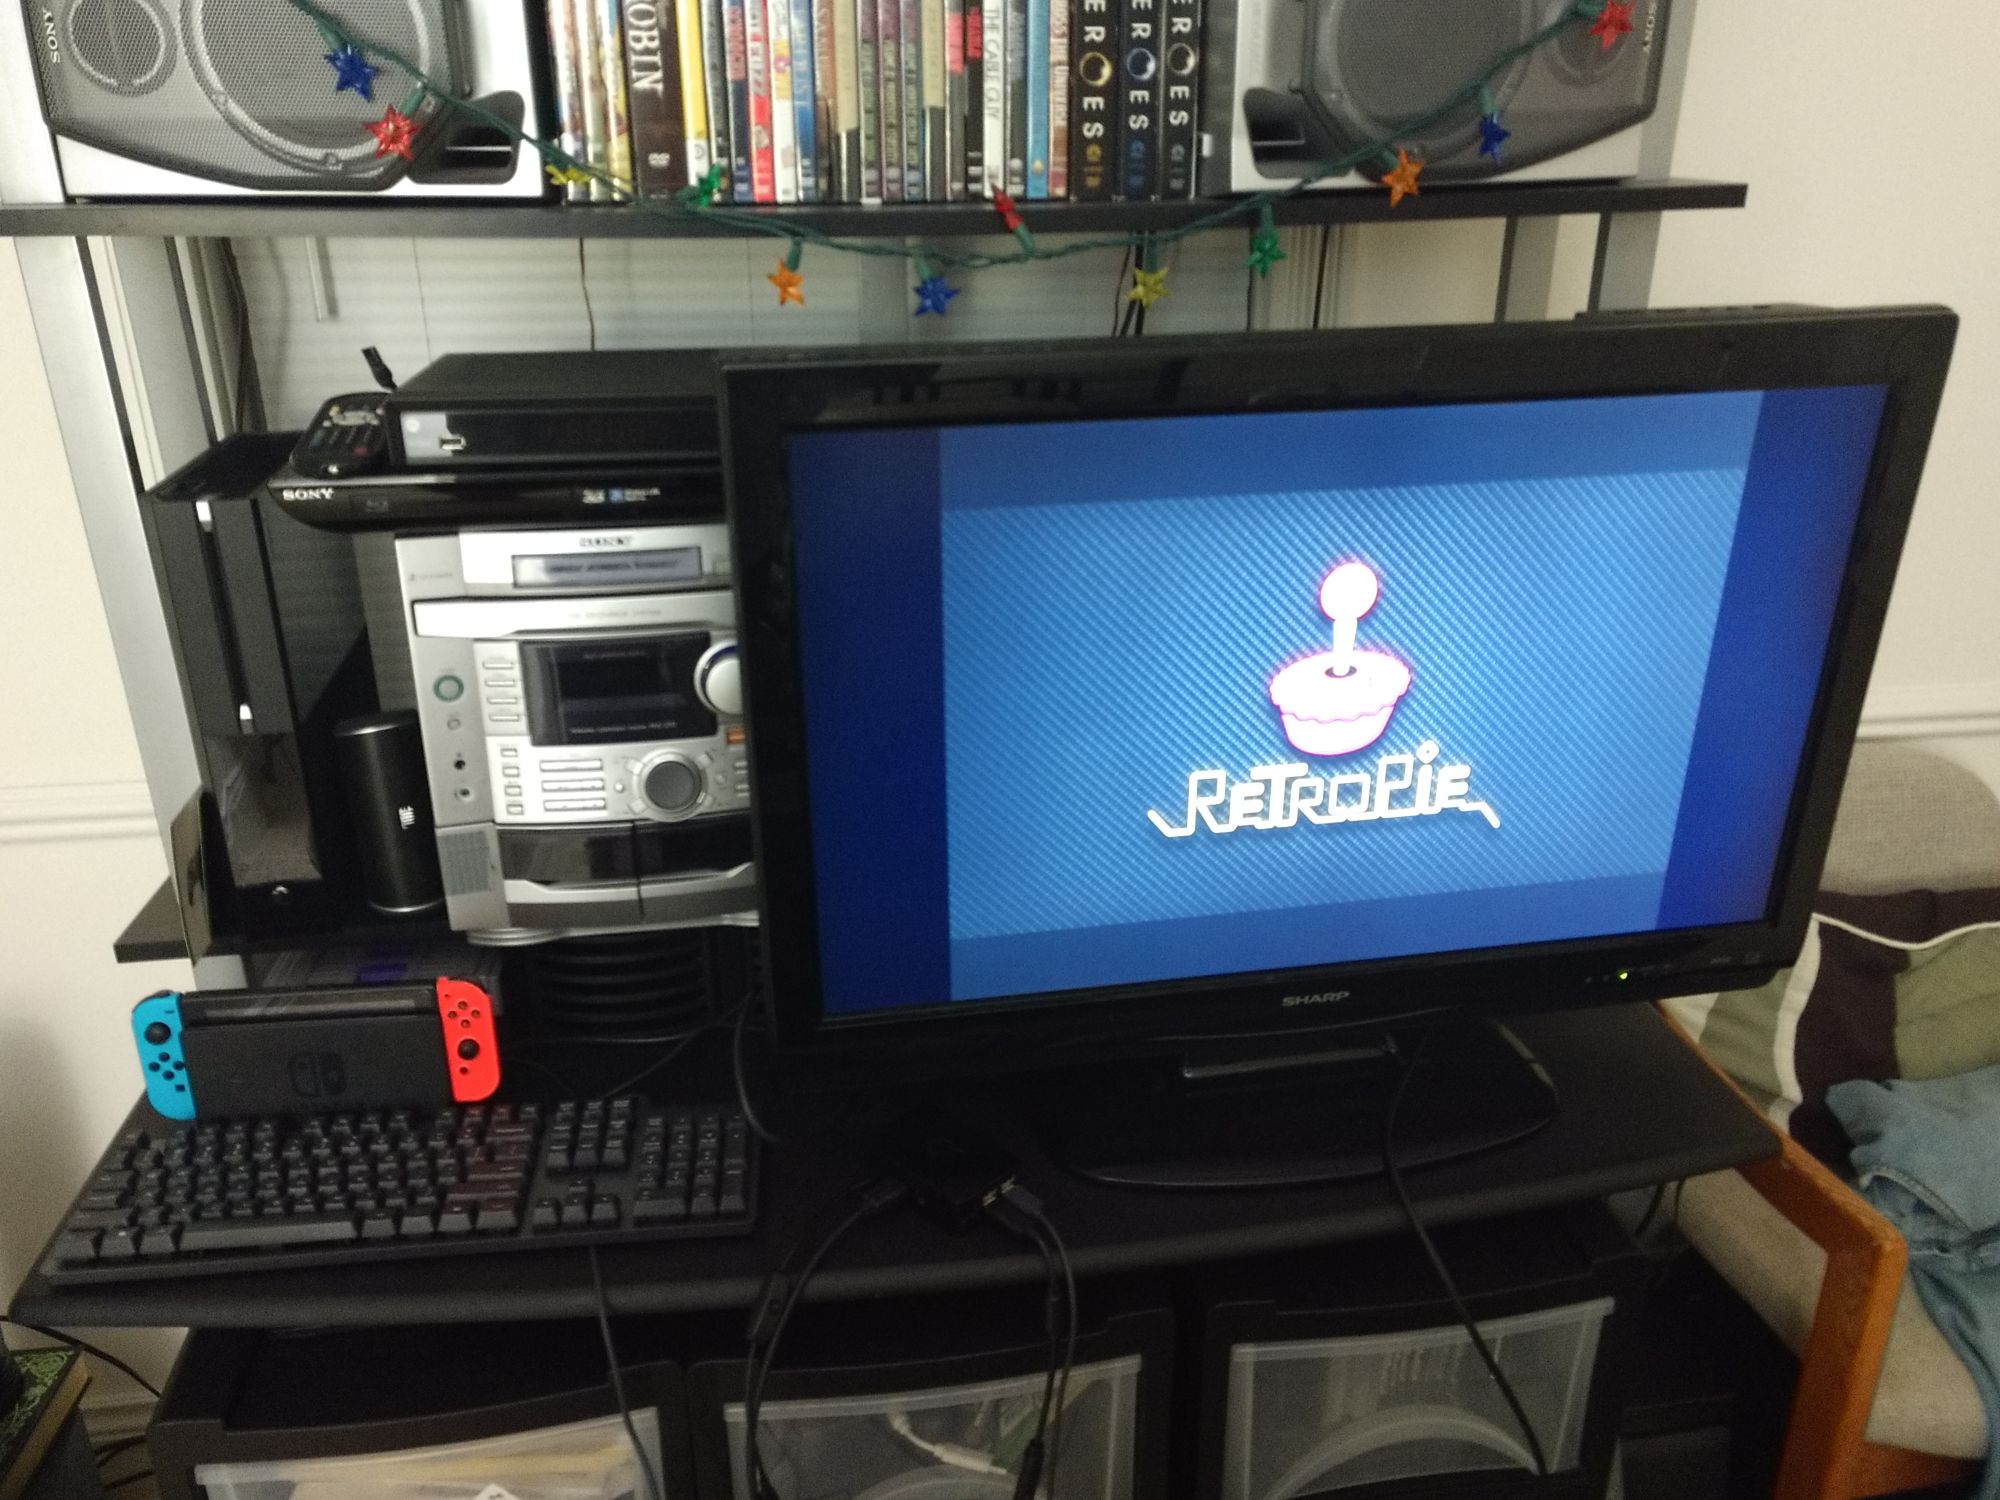
Once you have everything together I suggest heading over to https://retropie.org.uk/ where you can download the software you need and view the beginners guide on how to get this whole thing up and running. You should also download Etcher from https://www.balena.io/etcher/ so that you can install the Retro Pi operating system onto your Micro SD Card. For ease of access https://retropie.org.uk/docs/First-Installation/ will be your starting point after your downloads are finished. It’s a simple steps one-through-five type of deal once you get down to it.
Step One
Download both the Retro Pi and Etcher software.
Step Two
Install Etcher on your computer then Retro Pi onto the Micro SD Card.
Step Three
Plug the Micro SD Card into your Retro Pi and then plug it into your TV with a controller and keyboard.
Step Four
Start it up and do the initial setup before shutting down before following this guide, https://retropie.org.uk/docs/Transferring-Roms/, to put ROMs on your Retro Pi.
Step Five
Enjoy your lovely new retro gaming console!
You’ll now be able to play and find a new favorite game on any of the classic systems… well any before the original Xbox.
Now this is the part where you go and brag to your friends about having every old school video game at your fingertips right? THERE! RIGHT THERE! That is where all the talk of hipsters come from. Be proud of your accomplishments but don’t over share and definitely don’t let it go to your head. Invite your friends over, have some snacks, and kick your friends butt in original Mortal Kombat.
I think this sort of project is great for bringing both the old guard from the ATARI days together with those who remember playing Grand Theft Auto 3 when they were 9 years old. Anyone who has an appreciation for those long gone games of yesteryear would enjoy this. If you do decide to follow through with this project take your time, read guides or watch videos if you don’t understand something, and above all don’t stress out about it. Video games should be fun and not a chore.


0 Comments