At the start of the semester, we were told that we had to do a Raspberry Pi project. I had no idea what it was or how it worked. However, when I saw the in-class demo of the RetroPie I knew that was the project I wanted to do. I play a lot of video games and have never gotten to experience older titles from systems like NES, SNES, and N64. The idea of being able to play all of these games and more through one device was a very exciting one for me.
Here is a list of items that I needed for my project:
- Raspberry Pi 3
- Raspberry Pi Case
- 32 GB MicroSD Card
- USB MicroSD Card Reader
- HDMI Cable
- Micro USB Power Supply
- Raspberry Pi On/Off Switch
- 16 GB Flash Drive
- USB Game Controller
Here are the sources that I used to set up my RetroPie:
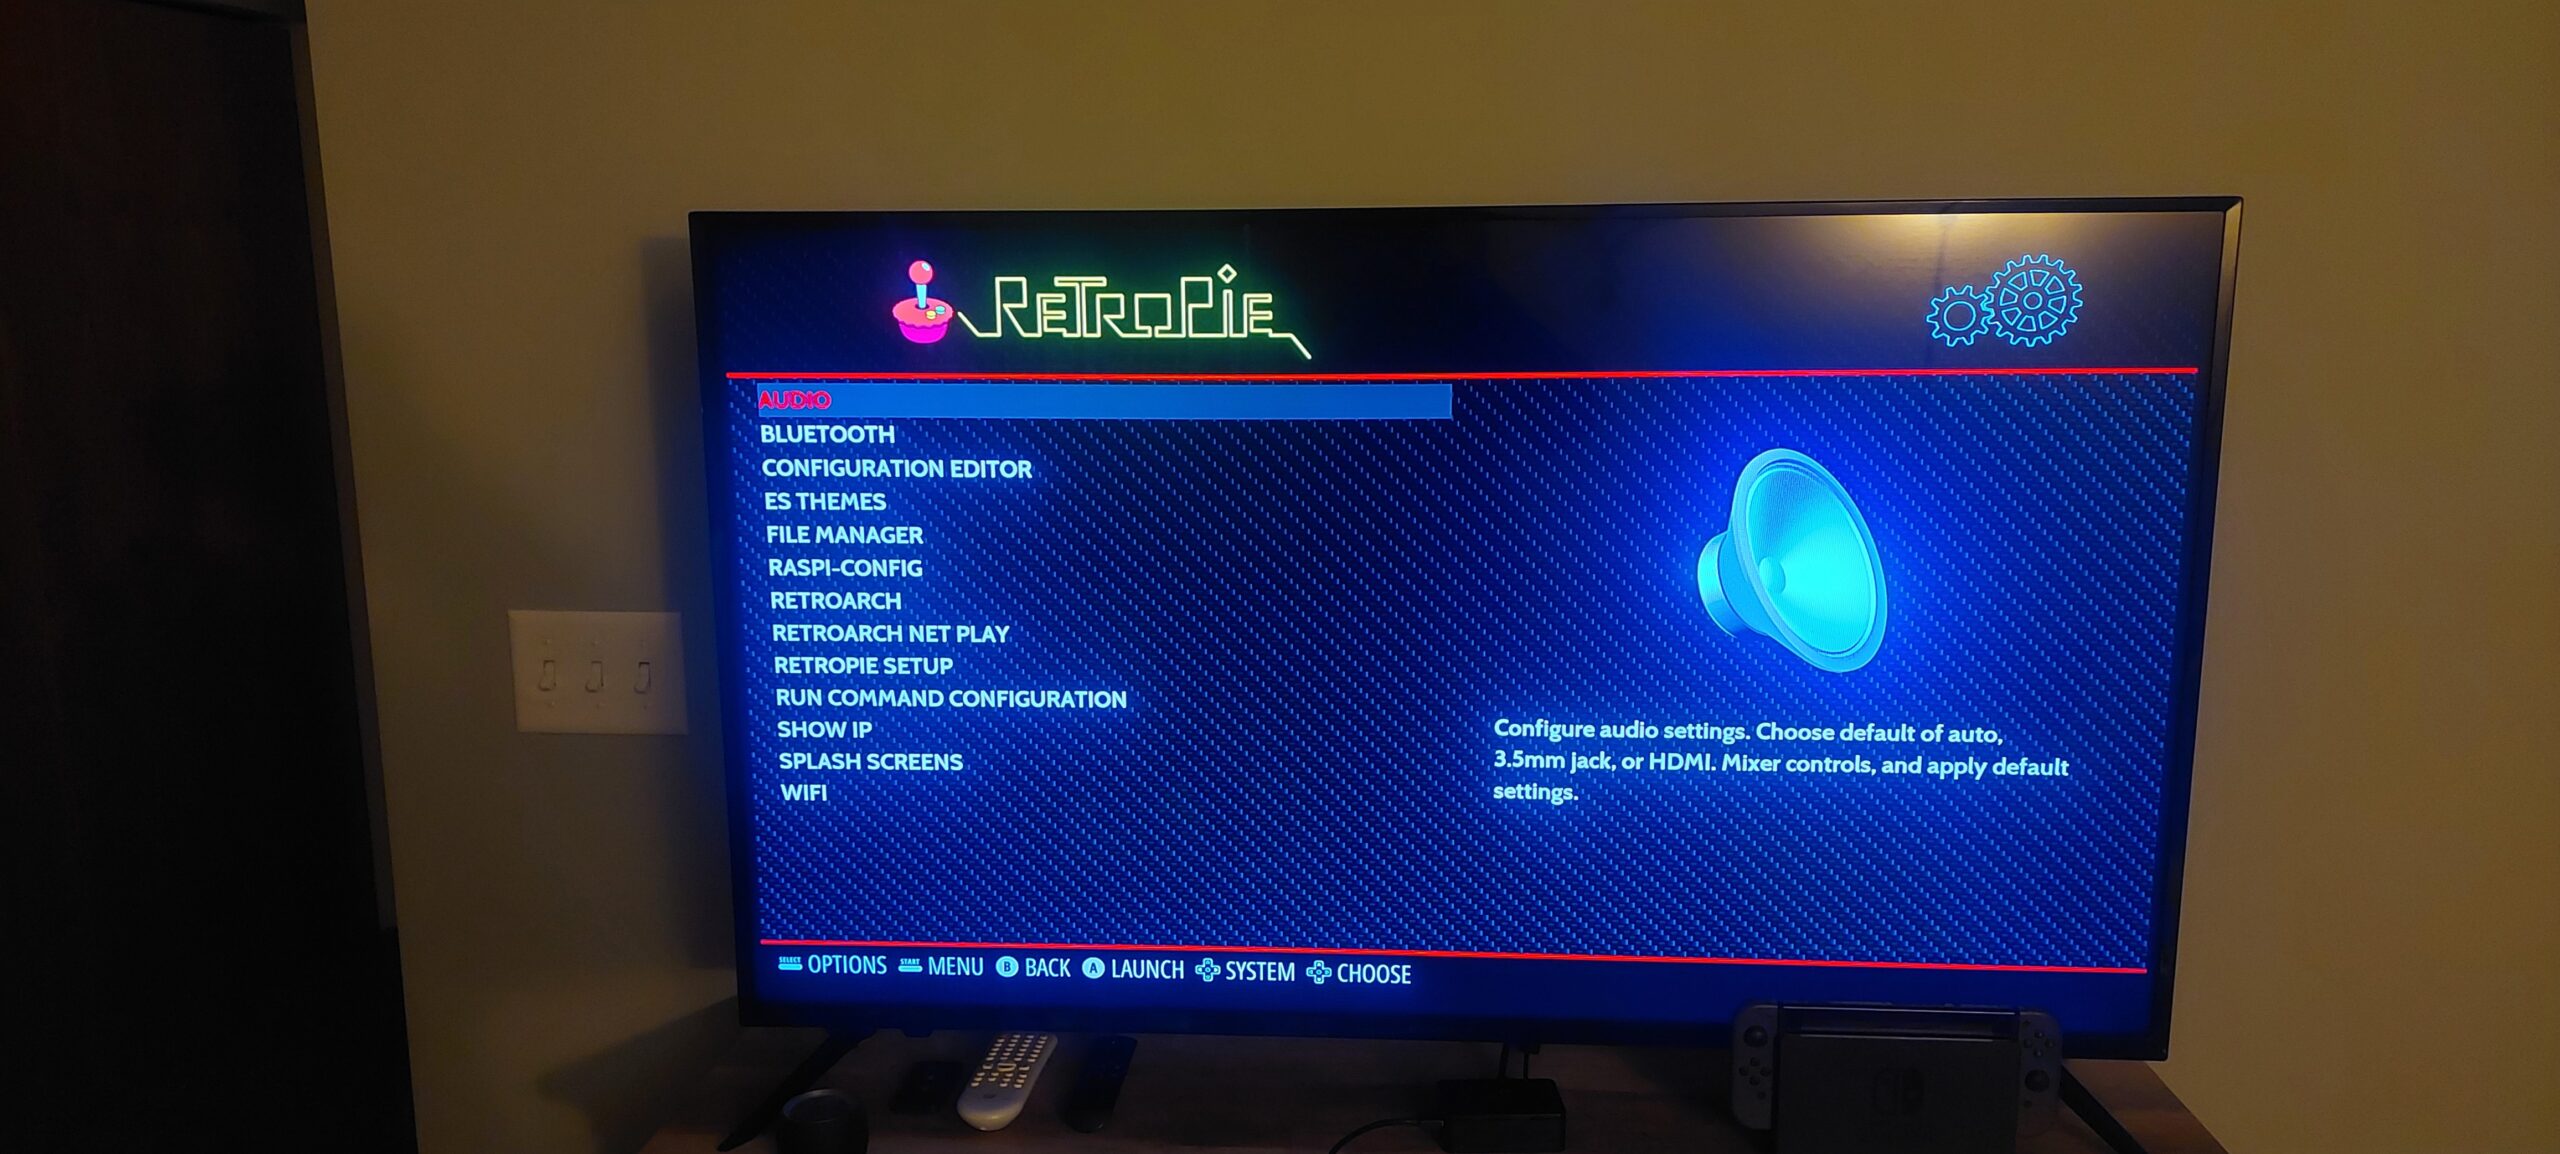
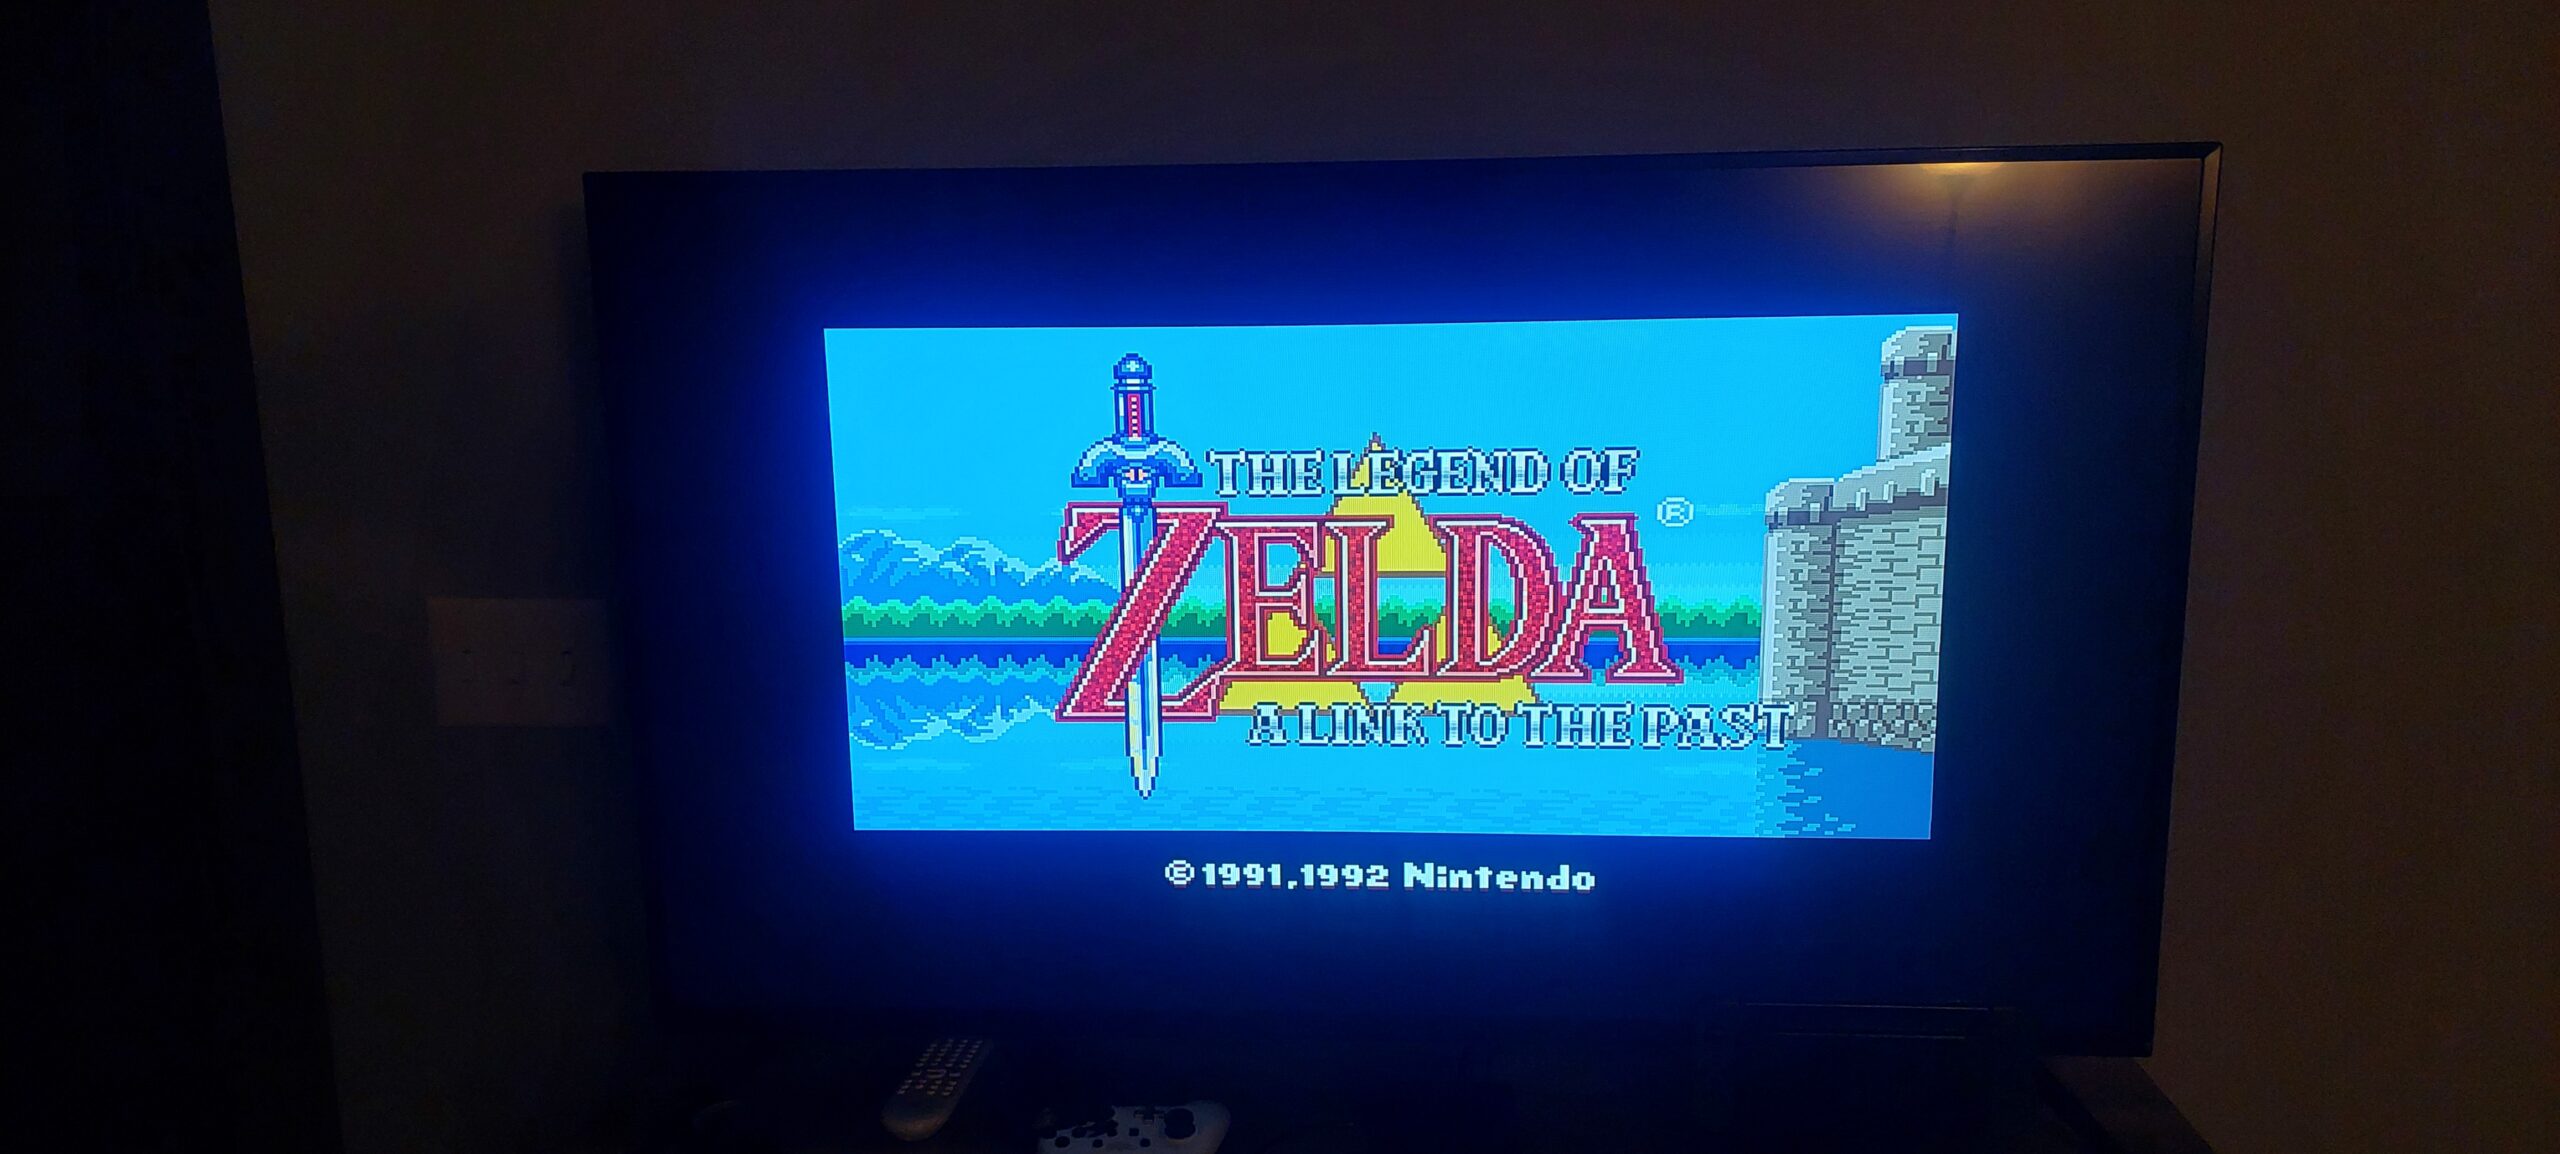
By the end, I had a fully-functioning RetroPie. The purpose of this project is to play retro game titles from several systems all on a Raspberry Pi. Once I had the image OS for RetroPie on my device, the process was very easy. You simply add ROMS to the Raspberry Pi through your Flash Drive and you can play any game of your choosing. Just turn the unit on, select the system, and then the game. RetroPie is very easy to use and lets you enjoy classic games more easily.

I really enjoyed this project. Getting to create my own gaming system with some of my favorite games of all time was such a cool experience. It’s made me consider getting a Raspberry Pi in the future. I highly recommend trying this project. If I had any advice to give when doing this project, watch videos of how to install RetroPie. It makes the process much clearer. Also, don’t worry about downloading ROMS from several systems. Practice on the few systems you can get working and go from there. I was really concerned that I wasn’t going to like this project but I’m glad that I was wrong.


0 Comments