Security is a never-ending market in today’s household. Homeowners always want to keep their loved ones and valuables safe. With new technologies, people have been able to install alarms and security cameras that are linked to local police stations.
Using a Raspberry Pi 3, I plan to make a do-it-yourself security camera. I chose this project because I want to find out how items in my house get tipped over and broken while I am away. Unlike most security cameras, I plan to have mine set up inside my house. In doing so, I hope to catch my dog or cat doing something they aren’t supposed to be doing.
Set Up
To create this project, I needed the items that would make this do-it-yourself security camera possible. These items include:
- Raspberry Pi 3
- Raspberry Pi Camera Module or a USB Camera
- Power Supply
- Ethernet Cord
- MicroSD Card
- MicroSD Card Reader
- Monitor
- Keyboard
- Mouse
- Laptop or Computer
- HDMI Cable
Resources
As a beginner in the tech world, I used two extremely helpful tutorials to create my project. I first used an article written by raspberrypi.org that explained how to set up the picamera. The article then showed me how to get the camera to take pictures and videos using various codes in Python 3. After the initial set up, I watched a YouTube video that explained how to download the MotionEyeOS software and activate motion detection. This video was a valuable source that helped me understand the steps and process in creating my DIY security camera.
https://projects.raspberrypi.org/en/projects/getting-started-with-picamera/2
What Can It Do?
My DIY security camera does exactly what I need it to do. In order to catch either my dog or cat, I would need to see proof of what animal was making a mess. The security camera can take pictures or videos when motion is detected. I have the device set up to capture seven-second videos and then send an email notification when activated. With the MotionEyeOS software, I can save videos from one week to one year.
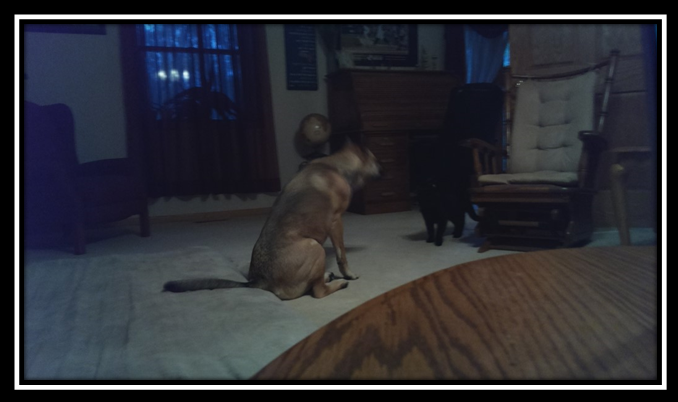
The picture below was one of the first pictures my DIY security camera took. It was set off by my dog and cat coming into my living. This was a perfect first picture because the goal of this project was to capture my pets and their activity.
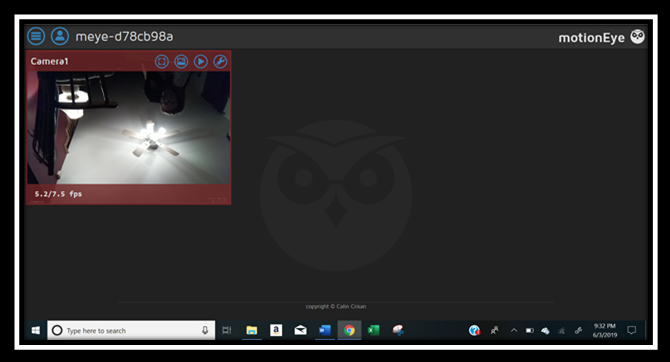
This picture below is a screenshot of logging into the MotionEyeOS. From here, I rotated the camera 180 degrees. Then I set up the device up for seven-second videos rather than taking individual pictures.
The final picture is my makeshift work station because the Raspberry Pi had to be hooked up to our WIFI. In order to make this possible, I brought my monitor and Raspberry Pi downstairs to where my WIFI router sits. As you can see, my cat was very helpful in the moving process.

Conclusion
This DIY security camera was the first project I have ever created. I am extremely happy with the way it turned out. While there were definitely some minor difficulties in the project, I was surprised how relatively easy it was to create a security camera. I would 100% recommended this project to another beginner. I learned a lot when creating this project and had more fun than I thought I would!


0 Comments